
Oct. 5, 2018
Drafted the outline of the body of the guitar and printed out on big paper. Created a template out of foam board and posterboard. Ordered all the materials— the front and back plates, side plates, the binding and purfling, the brace blanks— from a luthier supply company.

Shim template shown in white. Wood clamping board reused from previous build.
Nov. 8, 2018
Received the box of tonewood and binding. Here is the breakdown of wood that I selected for each part:
Soundboard: Yellow Cedar
Sides and Back: Bloodwood
Neck: Port Orford Cedar
Headpiece veneer: Bloodwood
Binding / Purfling: Natural binding, black/white/ brown purfling
Fretboard: East Indian Rosewood
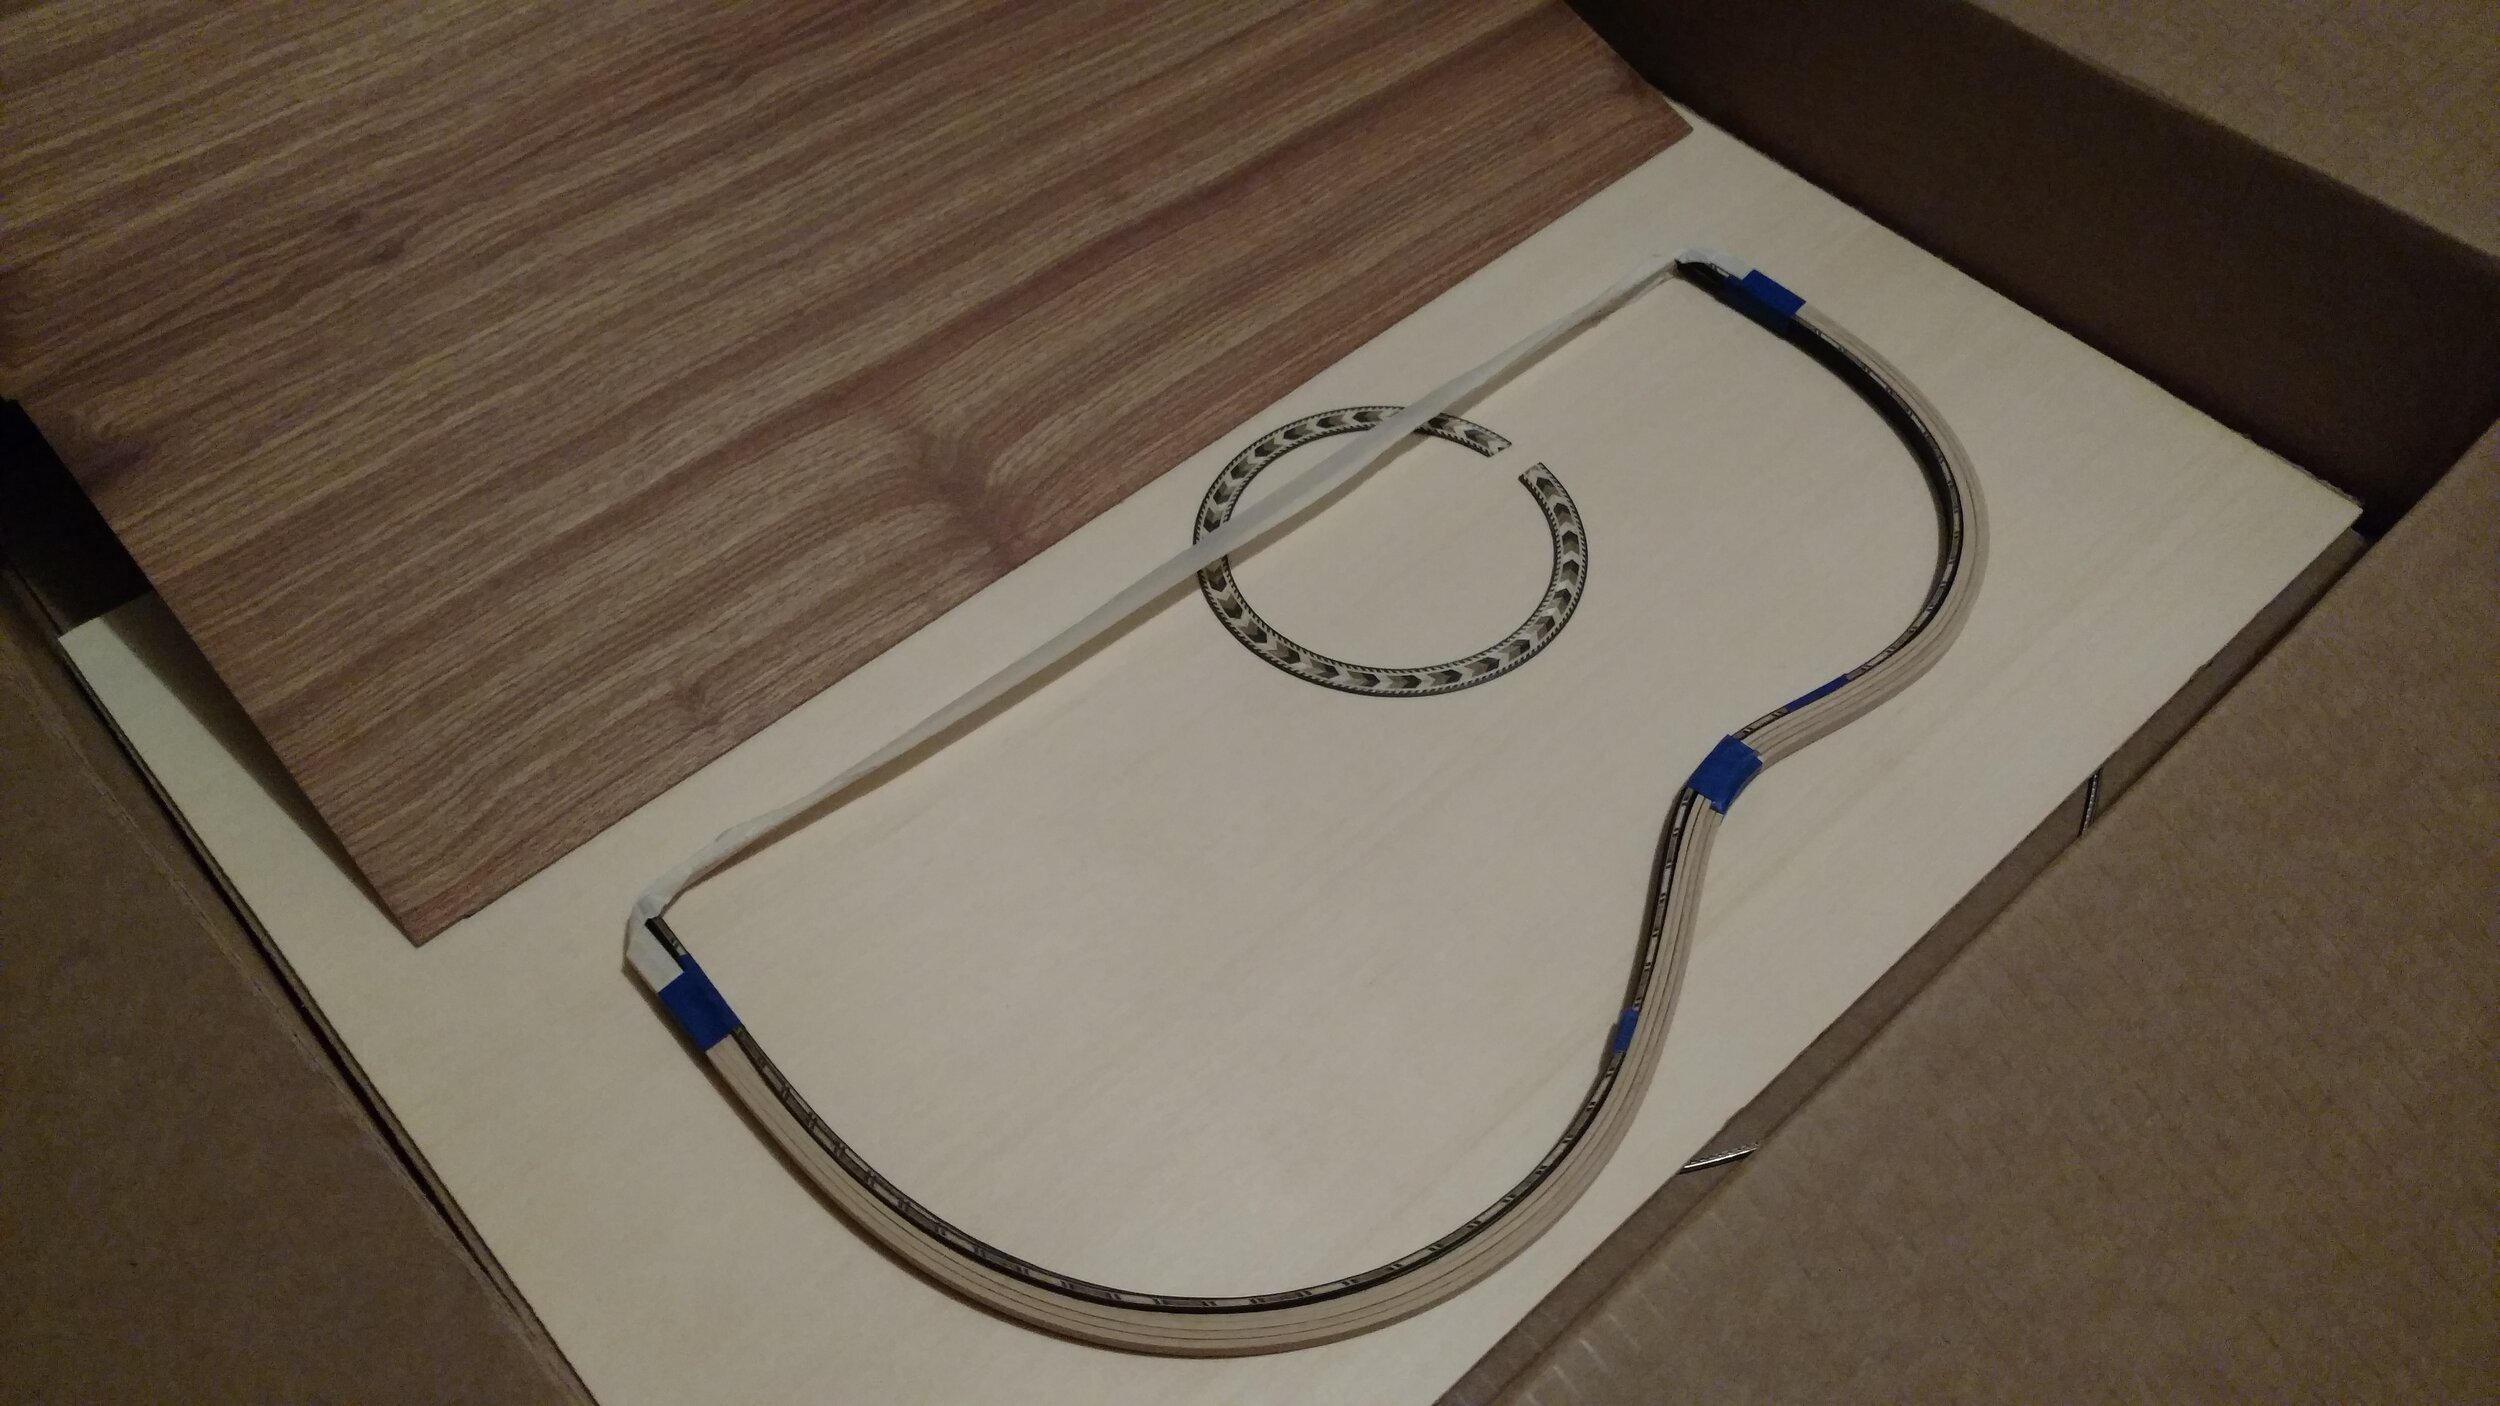
The box containing the plates with the pre-made rosette and binding materials placed on the soundboard plate. The bloodwood back plate is propped up on the upper left.

Found a split piece of rosette veneer out of the package. This is why you always order extra.
Nov. 11, 2018
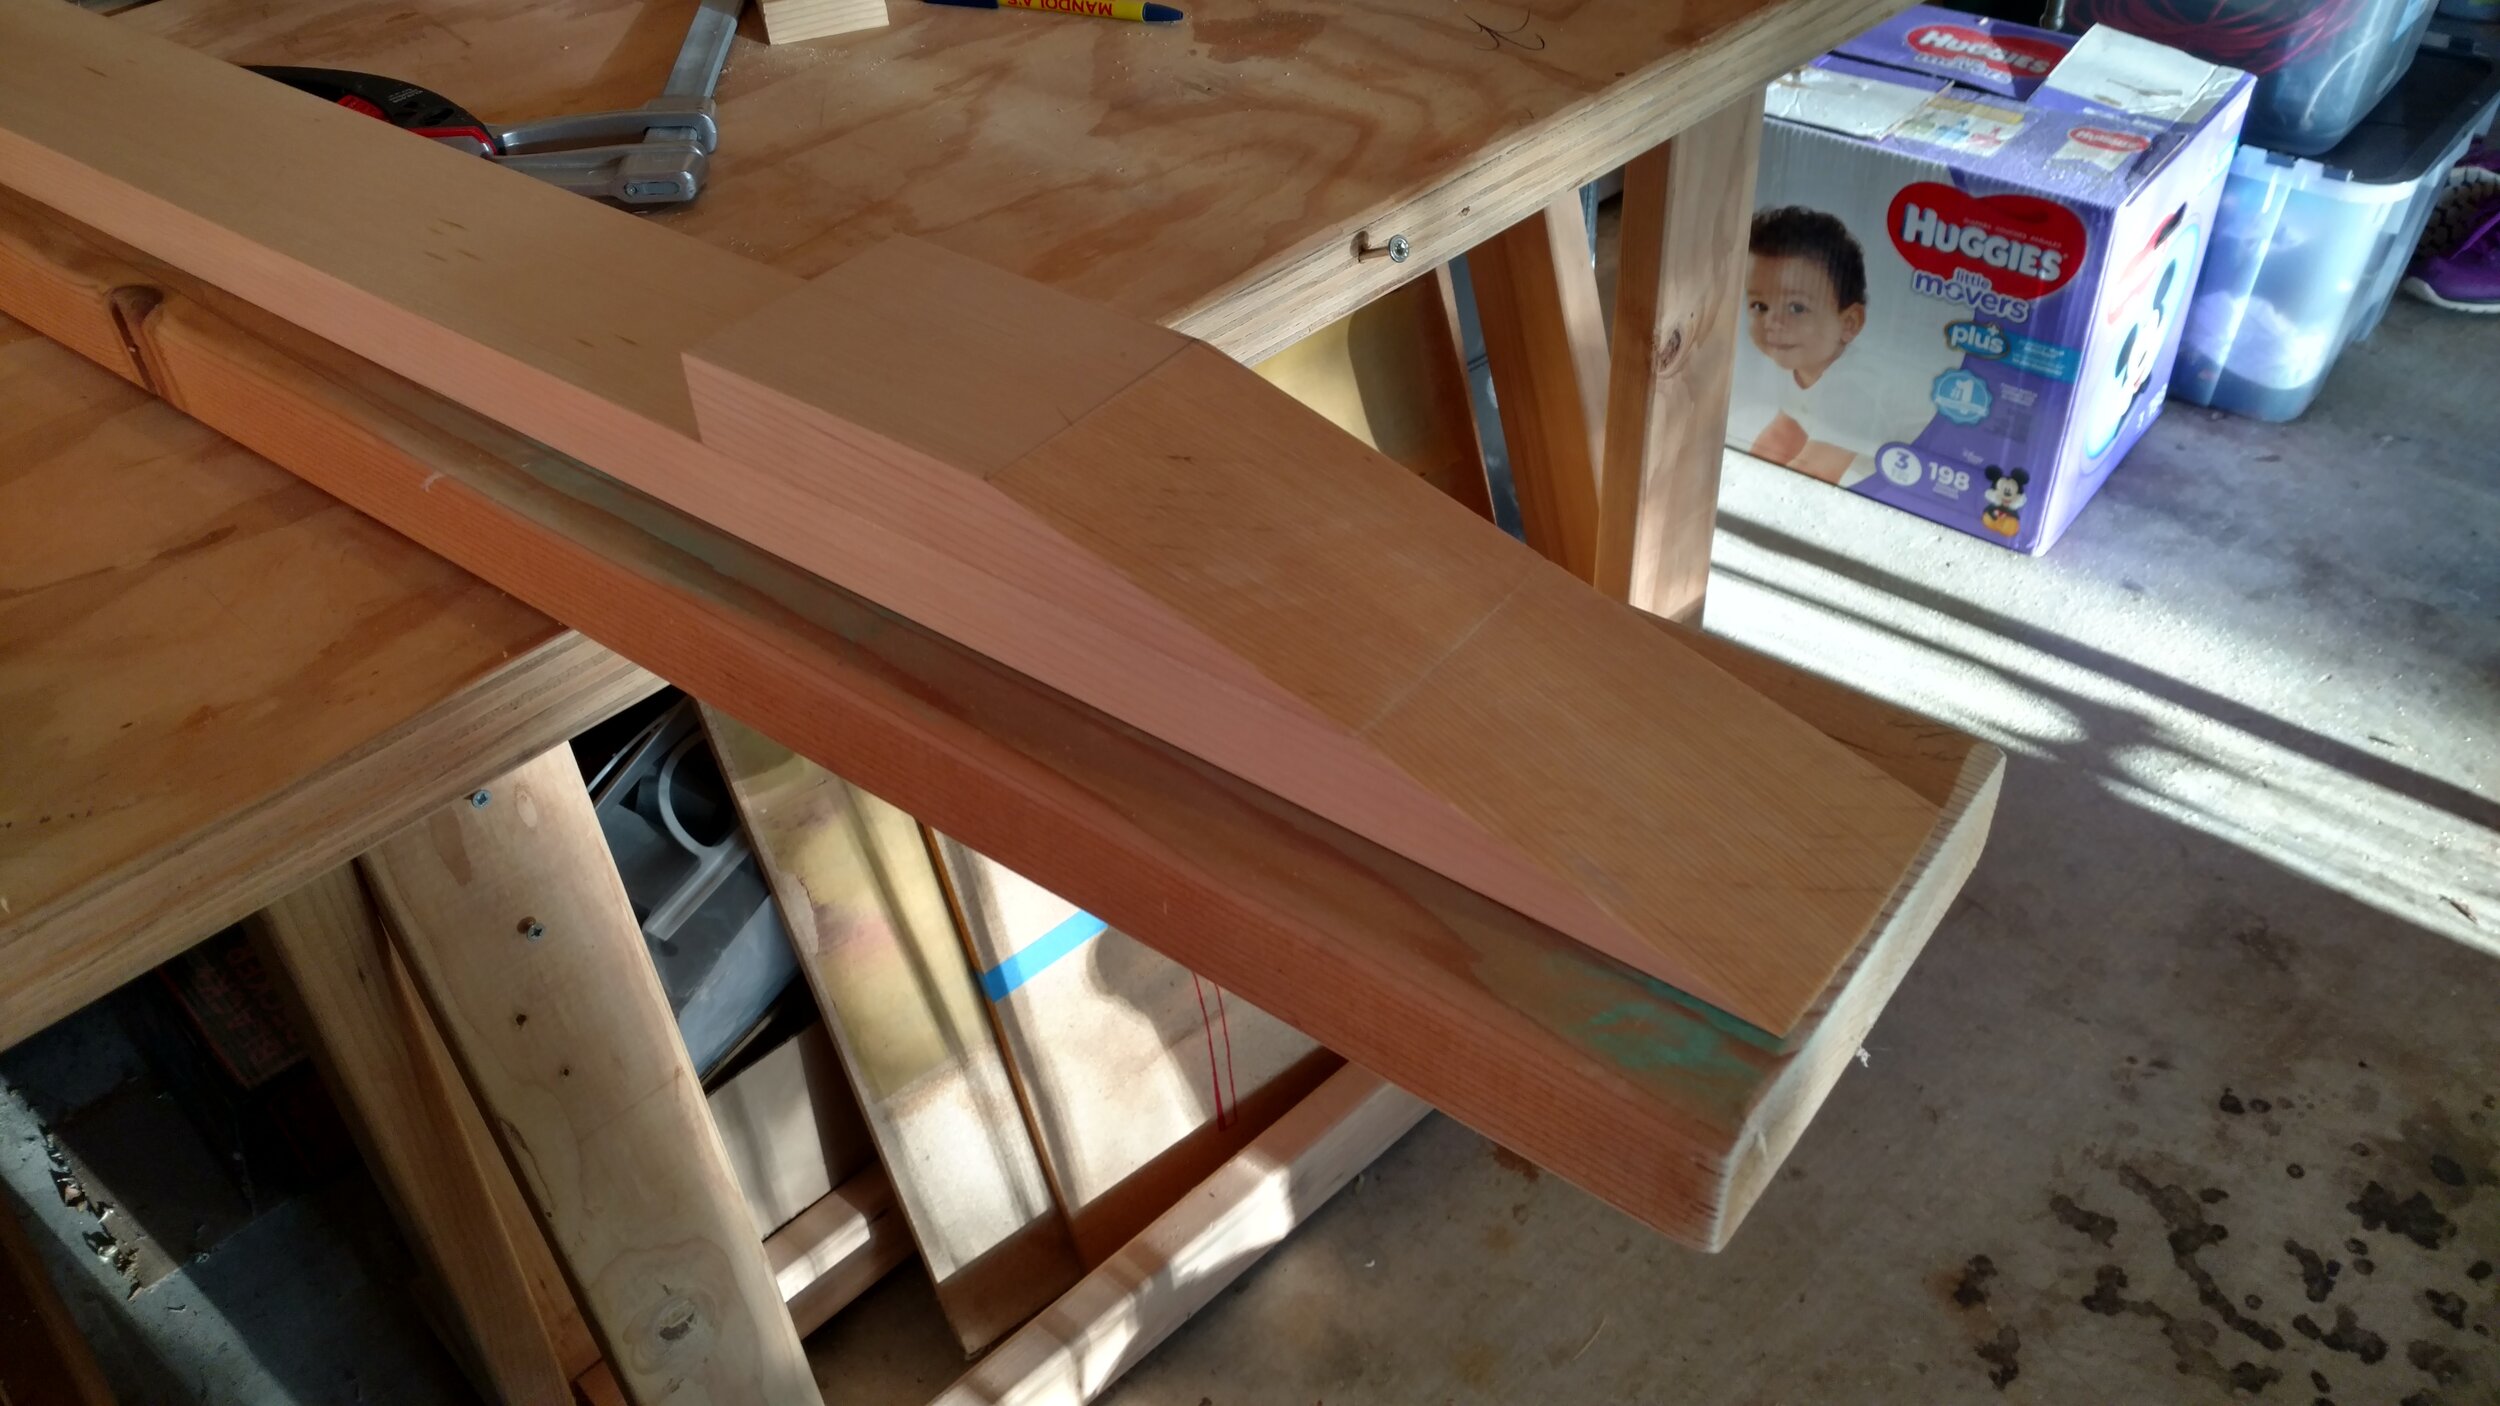
Made an angled cut into neck blank to create the joint between the neck and the headstock.

Cut with Japanese-style backsaw.
Nov. 18, 2018.
Stacked the headpiece blank on the neck to scrape and sand the joining pieces flush to one another.
The headpiece/neck pieces lined up for sanding flush. Preparatory diaper box shown in background (Sam due in January)