
February 14, 2019
Drilled holes in the pegboard for the tuning keys, then used a coping saw to connect the two circular holes.


April 13, 2019
Had a new baby boy to play with! Sam was born in January 2019.
The classical guitar progress continued in April. The next step was to carve the heel to neck transition. First, I cut the primary “swoop” profile. Then I carved straight diagonal “ramps” down each side. After the straight ramps were cut, I traced a profile to carve into the ramps that was closer to the final curvy shape that you see in the second photo. Finally, I chiseled away at the square “corner” and then chiseled away at the corners made from that corner, and so forth, until I got the blended rounded shape I was after.


June 11, 2019
Drafted the circles for the rosette on the soundboard. Then routed the surface out to seat the rosette veneers.

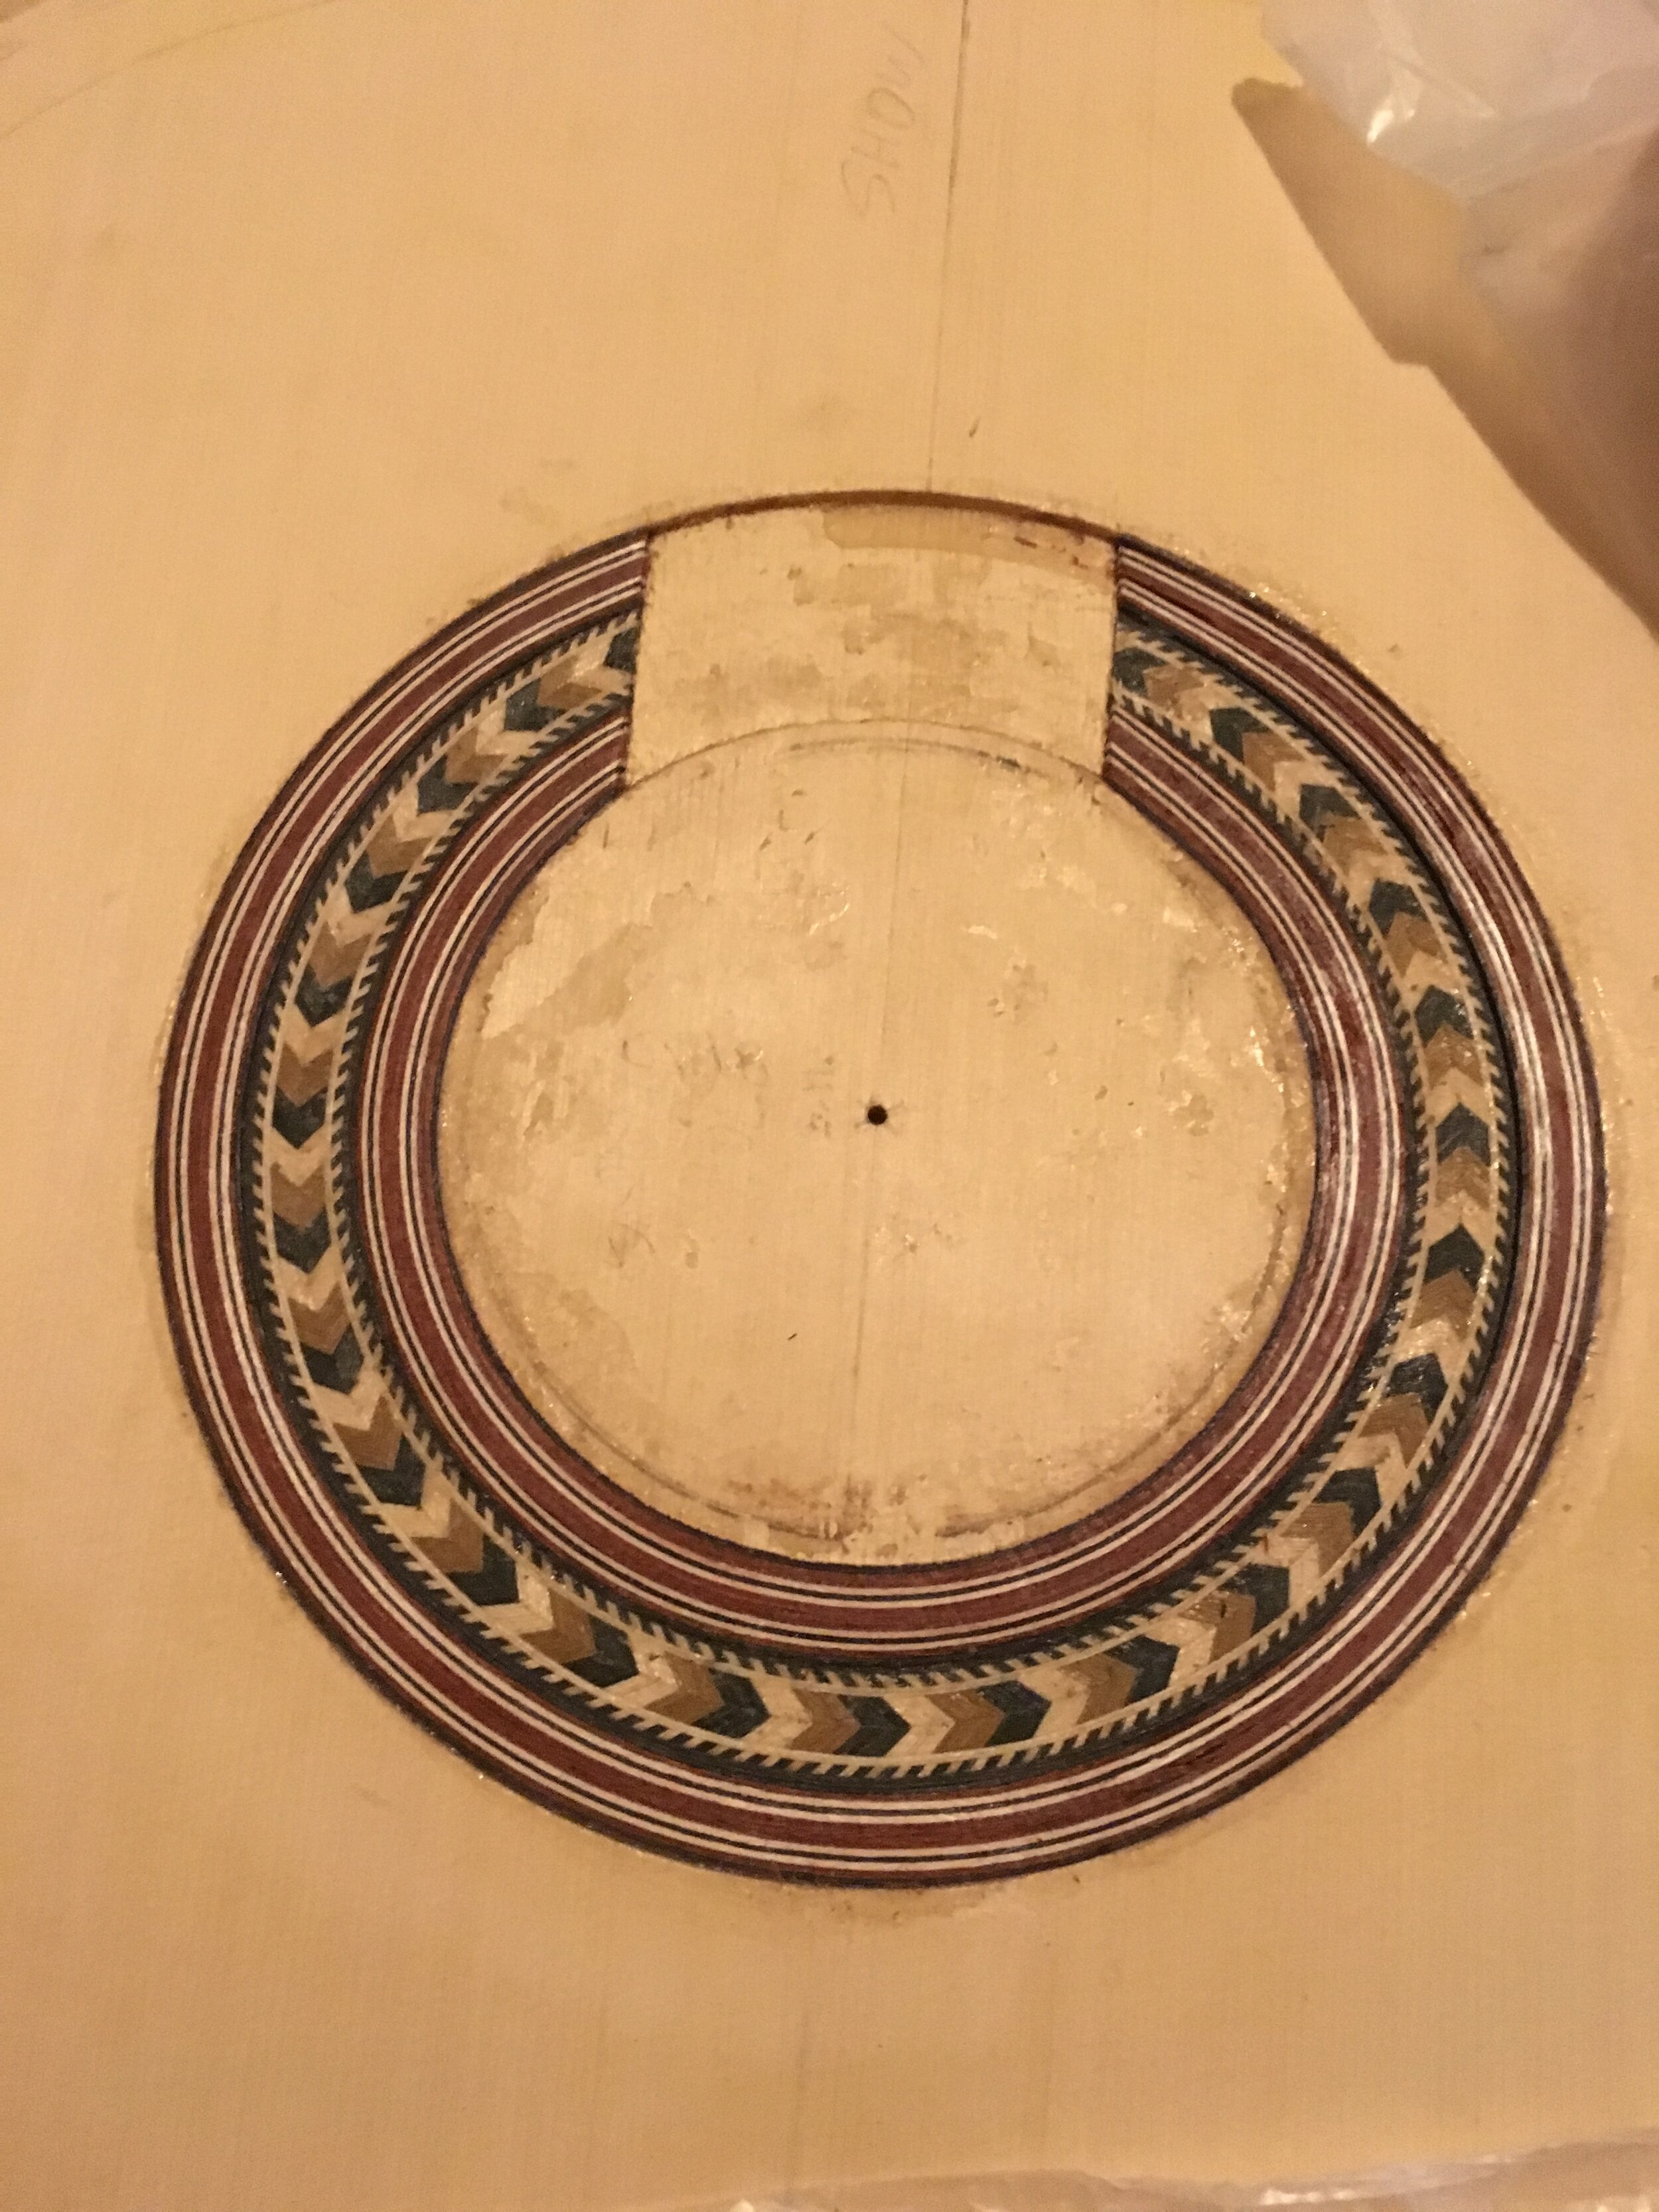
July 13, 2019
Glued in the rosette veneer material. The central ring was a premanufactured strip and the concentric rings are all dyed strips of wood of various colors. It is a lot to manage, and when the initial gluing is done, it looks like a mess. It’s all part of the plan, though, and will look great once it is scraped down and cleaned up.

July 23, 2019
Scraped a whole lot of the glue from the rosette. Cut two vertical lines up near where the fingerboard will overlap.
July 26, 2019
Glued in a filler piece where the fingerboard will overlap, and still had a gap so I put in some wood filler in the gap. Continued scraping the veneer flush to the soundboard. Starting to look a lot better.

March 3, 2020
What was I doing for 7 months? A lot of things. For the guitar, I was carving all the brace sticks out of brace blanks and sanding them to dimensions for the soundboard. I didn’t take any progress photos until all of them were carved. So when you see them all nicely arranged and cut to size, think of a couple of 2” x 2” x 20” blocks of wood. That’s where they all came from. Except for the plate-like pieces, which were cut and shaped out of 1/8” thick material. You can buy these pre-cut and I did this for my previous guitars. Without a doubt the one thing that added the most time because I chose to do by hand. It was fun though. Digital calipers were heavily used.


March 30, 2020
Built the propane-torch powered side bender. Practiced bending a side using my pegboard to hold the shape. Then I continued to finish bending the sides for real. The pegs are 1” circular and I drilled their holes most of the way into the 1 1/2” thick plywood work board. In order to keep them force-fit into the holes I wrapped the ends with very thin masking tape until they would hammer in and stay vertical without tilting under hand force.


